

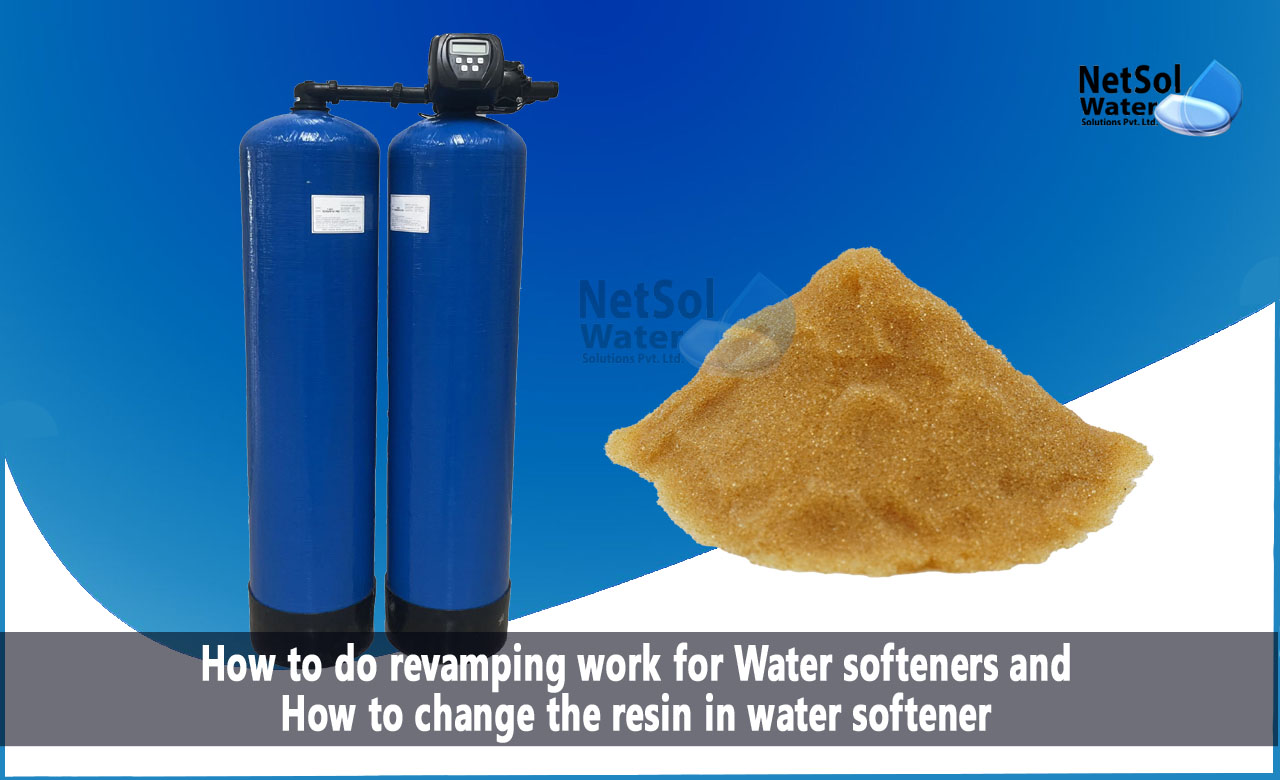
How to do Water softener revamping and resin change?
Water softener’s resin beads do age and can decrease the quality of water in our homes. If you have noticed that your water softener is performing poorly, it may be time to change the resin. Here, we will walk you through the steps of replacing resin in your water softener, giving you the best ways to overhaul the softener.
Why Change the Resin?
A water softener uses resin to remove hardness minerals such as calcium and magnesium from your water supply. Eventually, resin beads can become fully impregnated with these minerals and may lose effectiveness over time. Here are some signs that it's time to change the resin:
Reduced Water Softening: When you first start using the system, you will notice a significant change in water softness or a reduced amount of limescale deposit on surfaces and pipes. With time you can notice the decrease in this ability, giving idea to change the resin.
Decreased Water Flow: Clogged or eroded resin beads may clog the softener and hinder water flow. Resulting to low water pressure and slow water flow.
Frequent Regeneration: If your water softener regenerates in shorter periods than the previous, this indicates that the resin is full up fast.
Step by Step – Changing the Resin.
Here's a step-by-step guide to changing the resin in your water softener:
Materials You'll Need:
1- New resin beads
2- Wrenches or pliers
3- Screwdriver
4- New replacements such as gaskets or O-rings.
5- Tubing cutter (if necessary)
Safety First:
Turn off the water supply to the softener and plug in the unit before start. Turn on the faucet which is attached to a softener and release any pressure.
1. Drain the Tank:
Attach a hose to the drain valve at the bottom of the tank, extending it to a drain or outer location. Drain all water from the tank, open drain valve.
2. Disconnect the Control Valve:
Disconnect the control valve from the resin tank using wrenches or pliers. Do not damage any wiring or connections.
3. Remove the Old Resin:
Turn the resin tank over and remove the distributor tube and old resin. Depending on how it is attached, you could use a screwdriver to break it loose gently.
4. Clean the Tank:
Clean and rinse the resin tank thoroughly, removing any remaining resin beads or foreign matter.
5. Prepare the New Resin:
Prepare the new resin beads according to the manufacturer’s instructions. These may include pre-rinsing and soaking them.
6. Reassemble the Tank:
Push the distributor tube down through the tank so that it sits right. Gently pour the new resin beads into the tank.
7. Reconnect the Control Valve:
Then attach the control valve to the resin tank and check that all connections are tight.
8. Refill the Tank:
Gradually turn on the water supply valve and let it fill up. Inspect for leakage and if necessary, retighten connections.
9. Regenerate and Test:
After that, follow the manufacturer's directions of your water softener in starting a regeneration cycle. This will help prepare the new resin beads. Turn on the faucet to drain off any remaining brine after regeneration.
10. Monitor Performance:
Ensure that your water softener is performing properly by monitoring its performance. Expectantly, the water quality shall improve and scale deposits to reduce.
Conclusion
Replacing the resin in your water softener is an easy DIY project that can dramatically improve the function of your system. To rejuvenate your water softener, follow these steps, refer to your specific water softener’s manual, and enjoy softened water all over again. Make sure to conduct routine checks and seek the assistance of an expert in case you face any problems along the way.